A Practical Optics Checklist for Low-Light Field Use: The Details That Matter Most
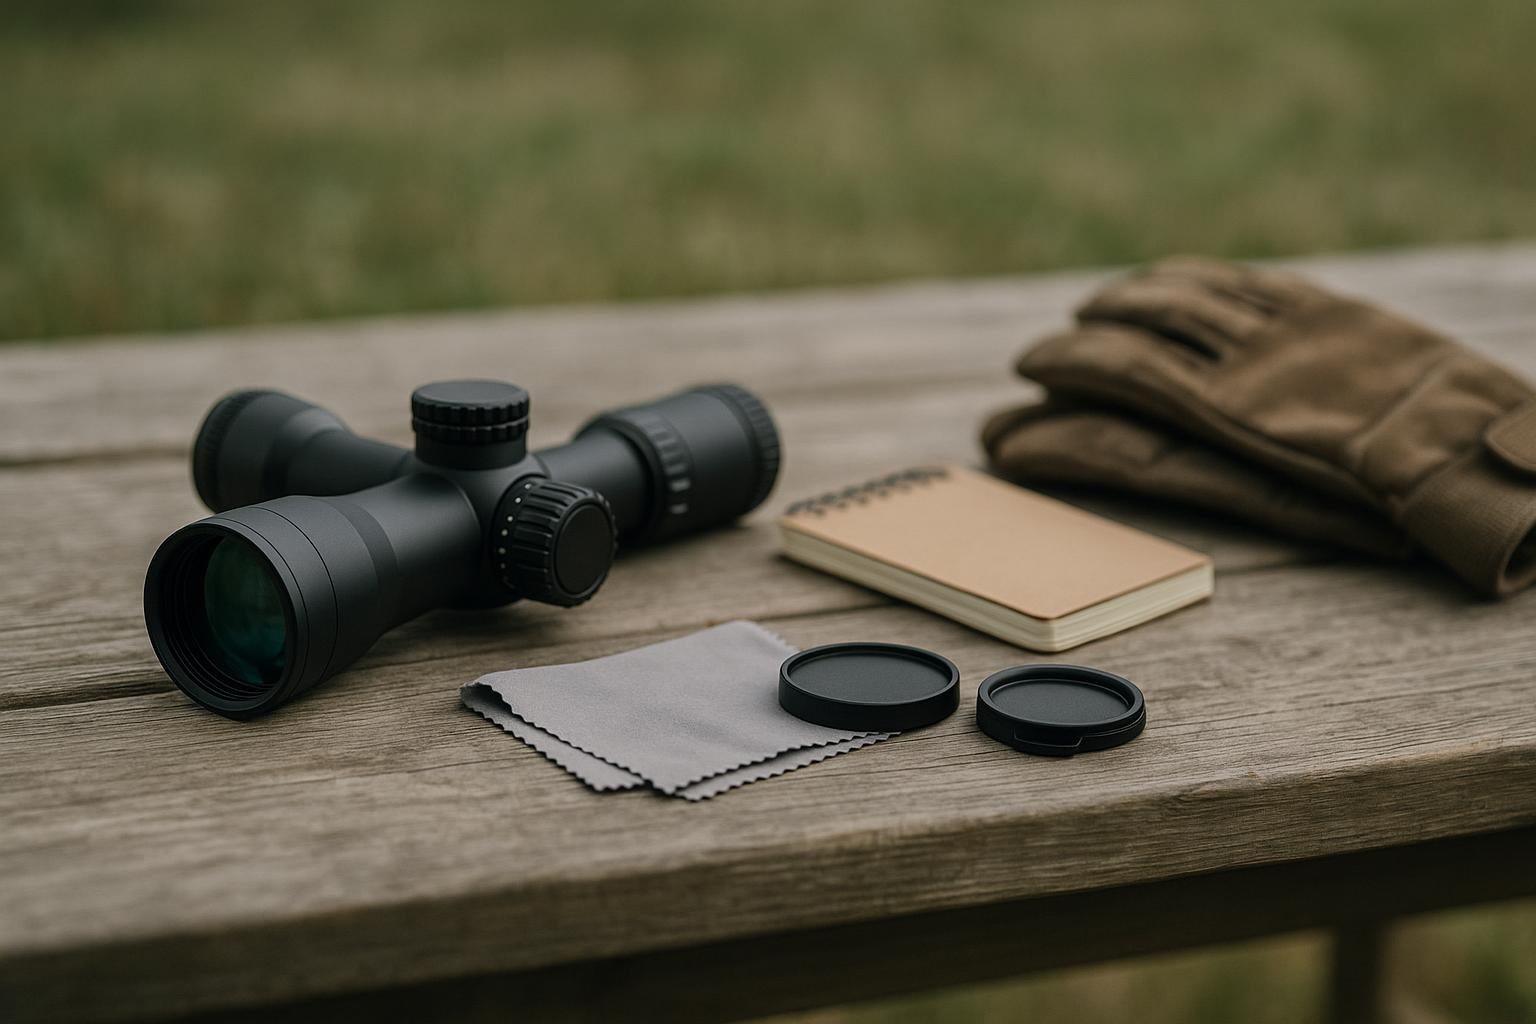
Before heading out at dusk, decide what you need to see: a clear aiming reference through a scope, a wide view for scanning, or an electronic image after natural light has gone. That choice narrows the field more effectively than chasing the largest objective lens or the most impressive specification. A useful low-light setup preserves detail, handles awkward light, and fits your legal and practical limits. Judge it by testing the complete viewing system in conditions resembling the real outing.
Start with the task, not the specification sheet
Consider watching a field edge from a fixed position as daylight fades. You may use binoculars to locate movement, then a riflescope to identify a suitable aiming point. Those are different jobs. A scope designed for precise aiming may be uncomfortable for prolonged scanning, while a wide-view optic may not provide the reticle behavior or mounting arrangement you need.
Define the task plainly. Do you need to distinguish an object from its background, identify details at a known distance, or monitor an area? Note whether the optic will be handheld, supported, mounted, or shared. A narrow, highly magnified view can make movement difficult to track. Lower magnification may show less apparent detail but provide a steadier, more forgiving view.
This step exposes attractive features that do not solve the actual problem.
Read clarity as a system of details
Clarity is not a single number. Look for a sharp central image, usable detail toward the edges, controlled glare, and a reticle that remains visible without overwhelming the scene. These qualities interact: a slightly dimmer image with clean contrast and a precise aiming reference may be more useful than a brighter image with a distracting reticle.
At the shop or during a permitted evaluation, inspect a distant textured target in fading light. Fine branches, grass, lettering, and roof edges reveal softness better than a plain bright surface. Shift your eye position slightly. If the image blacks out easily, the optic may be less forgiving when your cheek position is imperfect. Move through the magnification range; clarity that seems acceptable at low power may become less comfortable at high power.
Check glare separately. Aim toward a bright patch of sky or a light source to reveal veiling flare, but do not treat one dramatic comparison as a complete test. Real scenes include backlighting, shadows, and reflective surfaces, so evaluate several directions.
Understand exit pupil and twilight performance
Exit pupil is the beam of light leaving the eyepiece, calculated by dividing objective diameter by magnification. You need not calculate it constantly, but the relationship explains why a scope can feel bright at low power and less forgiving at high power. As magnification rises, exit pupil shrinks and precise eye alignment becomes more demanding.
A large objective is not automatically better. A bigger front lens can add size, weight, and mounting demands. It may support a larger exit pupil at a chosen magnification, but the benefit depends on the optical design, available light, and your eye's ability to use that light. A comfortable image at a moderate setting can be more valuable than maximum magnification that is difficult to hold or align.
Judge twilight performance by retained detail and contrast, not by apparent brightness alone. Ask whether dark shapes separate from the background, whether the reticle remains usable, and whether your eye stays relaxed for several minutes. If usefulness changes sharply as light fades, record the setting where the optic stops working for your task rather than treating that point as a failure.
Test the setup where small faults appear
A scope can look excellent in isolation and disappoint once mounted. Check eye relief and eye position from the actual shooting position, using your normal clothing and support. Confirm that the image appears quickly when you shoulder the firearm rather than requiring a slow search for the eye box.
Check focus controls without losing your reference point. Set reticle focus for your eye; use the main focus or parallax adjustment, when present, according to the instructions. Make one change at a time so you know what improved or weakened the view.
For binoculars, examine hinge tension, diopter adjustment, and comfort during extended viewing. A sharp image that causes eye strain is not a practical advantage. Clean the lenses properly before testing, since fingerprints and dust can create false impressions of poor coatings or low contrast.
Know when electronic vision changes the question
Night vision and thermal scopes are not simply brighter conventional optics. Night vision depends on available light or an infrared illuminator, while thermal equipment detects differences in heat rather than visible detail. Each addresses a different observation problem, and neither removes the need to identify what you are seeing responsibly.
Electronic systems require additional checks: startup behavior, controls usable without excessive distraction, image lag, battery condition, and the effect of a bright light source on the display. Read the instructions and verify how the equipment may be used in your area. Hunting, shooting hours, illuminated devices, night vision, and thermal scopes may be governed by different rules, and regulations can change. Consult current official guidance before relying on any setup in the field.
Use this field-ready optics checklist
Before committing to an optic, ask:
– What exact viewing or aiming task must it perform?
– Is the image clear and contrasty at the magnification you will actually use?
– Does the reticle remain visible without hiding important detail?
– Is the exit pupil forgiving enough for your position and changing light?
– Can you find the eye box quickly with your normal clothing and support?
– Have you tested glare, shadows, edge clarity, and fading light rather than one bright target?
– Are controls, focus, and battery access practical without unnecessary handling?
– Do the intended use and equipment comply with current local requirements?
Return to the field-edge scenario and choose from those answers. The right low-light optics are not defined by one oversized specification. They let you identify, observe, or aim with repeatable clarity when natural light becomes least forgiving.