Why a Carefully Mounted Scope Still Misses: A Repeatable Verification Routine
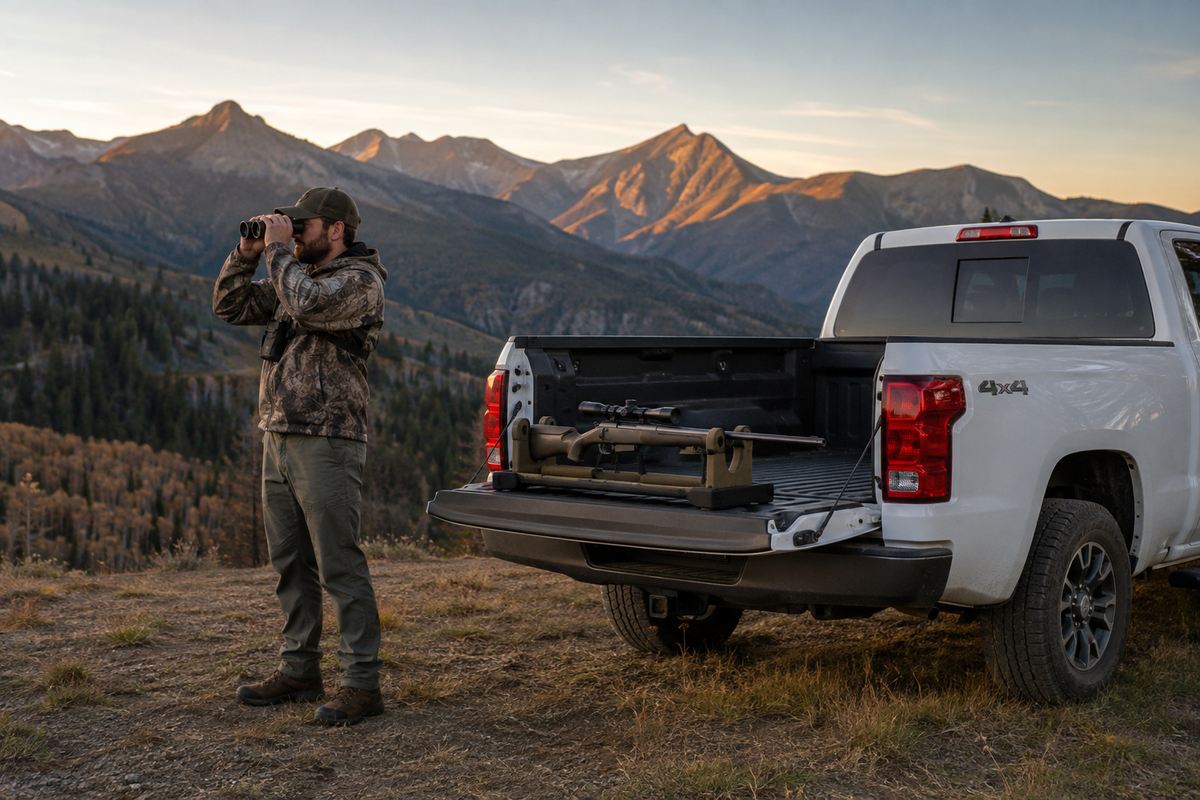
Understanding Why a Mounted Scope Can Still Miss: A Guide to Verification
Mounting a scope on your rifle might seem simple.. Getting perfect accuracy takes more than just tightening a few screws. It takes checking. You need to know if the problem is with the mount or if the issue comes from else in your setup. A scope can look perfectly aligned. Still give inconsistent groups after installation. That means the answer is not turret adjustments. The answer is a verification process. This helps you choose the optics for hunting. It also makes you more efficient in the field.. It gives you the ability to judge your shooting accuracy clearly and without guesswork.
Focus on the Groups Consistency
When you look at your rifles accuracy the first thing to do is look at how the shots land. Look for the pattern of your shot placements. If all the shots are clustered together but shifted in one direction that means the scope just needs to be adjusted.. If the shots scatter all over the target that tells you something deeper is wrong. You need to look at the mount the fasteners, the ammunition, how the rifle fits you and your shooting technique.
Start your check with a rest and a clear target. Keep your rifle setup your ammo and your shooting support the same for every test. Don't fixate on one shot. Look at the group. If the group stays tight. Is off to one side write down the direction and make small adjustments using the manufacturer's directions.. If the group changes each time or moves after you touch the rifle stop making adjustments. Do not keep turning the turrets. A loose ring or a mount that isn't fixed properly will not be fixed by moving the scope's knobs.
Inspect Your Mounting System First
Before you blame the scope check the base and the mounting rail. Make sure the base is held tight. Look for gaps, signs of wear or anything that might interfere with the mount. The rings should press evenly on the scope tube. Do not try to force the scope into place by using rings. That can damage the tube. Cause alignment issues.
When tightening the fasteners follow the manufacturer's instructions. Do not use much force. Much force can crack the base or ruin the threads. Little force can let the mount move. Using thread-locking compounds does not replace the need for threads and proper fit. Thread lockers can make future removal more difficult so think carefully before using them.
Next check your shooting position. You should be able to see the sight picture without twisting your head or straining. Proper eye relief and cheek weld are not about comfort. If your head moves with each shot the reticle will move relative to the target even if the rifle stays still. That can lead to hits.
Ensure Reticle Alignment is Proper
After you've checked the mount it's time to look at the reticle. A crosshair might look level against an object but it could still be off in relation to the rifle. The real test is whether the vertical line stays straight when you hold the rifle the way you normally shoot. To check this find a straight vertical line, like a building or a telephone pole. Hold the rifle in your position look through the scope and compare the reticle to that line. Keep your cheek on the stock the way each time.
Do not tilt the rifle just to get the reticle to line up. That's not a fix. If you need to adjust loosen the rings carefully. Then move the scope slowly. Check alignment again. The design of your reticle matters. A thin crosshair can help with long-range precision. A thicker or illuminated reticle can help in light.. No matter what reticle you use staying in the same shooting position is key.
Then test how the scope adjusts. Turn the elevation or windage turret a few clicks. Then turn it back to where it started. See if the bullet impact returns to the spot. If it doesn't do the test again. One shot isn't enough to know what's going on. You need results to trust your findings.
Create a Repeatable Verification Method
Having a clear process is important. It lets someone else check your setup and see the results. Keep notes on the condition of the mount your sight picture, the direction of adjustments and where the shots land. This can help you spot problems later after transport or storage.
Before you call your setup ready for the field go through this checklist:
– Make sure the base, rings and fasteners are tight as per the manufacturer's specs.
– Check your eye relief and cheek weld while holding the rifle normally.
– Compare the reticle alignment using a world vertical reference without tilting the rifle.
– Run a test with the rifle, ammo and support setup each time.
– Record if the group is tight consistently off or changing.
– Repeat the whole check after each adjustment. Do not assume prior results still apply.
Patience is important. You don't need a shooting range.. You do need consistent conditions. Change one thing at a time. Let your gear settle. Do not mix positions, loads or sight pictures in the same test.
Interpreting Results and Next Steps
When you look at the results a group that is off to one side usually means the scope needs zeroing. A group that shifts when you move the scope or fire suggests the mount is not stable. If the group changes when your shooting position changes the problem may be with your technique, not the scope.
Keep in mind that a bench check has limits. Real-world shooting brings challenges like ground, different clothing and fast transitions. These can expose habits that stay hidden when you're shooting from a rest. After you check everything mechanically test your sight picture from the positions you expect to use in the field. Do not skip the bench check to go straight to field tests.
If after checking the mount and controlling all variables your scope still gives unpredictable results it's time to get help. Do not try to fix things with methods like filing or drilling. That can make the problem worse. Regulations, on firearms and hunting change. Always check the rules before using or testing your setup.
In the end good hunting optics help you verify your setup faster.. They do not remove the need to verify. The real benefit is knowing where the problem lies-whether it's in the mount the adjustment system, the reticle or your own shooting setup-before you take your rifle into the field.